Headlight Replacement in an LGB Amtrak Genesis

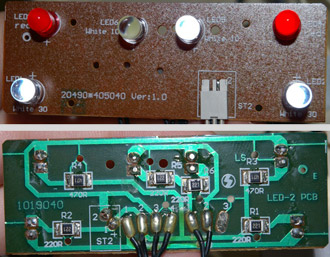
Not long after we got our LGB Amtrak Genesis in June 2008, one of its headlights stopped working. The headlight structure is made up of five LEDs attached to a circuit board, which is in turn connected to the rest of the engine via three cables. Looking at the front of the engine, the LED that died was the left one in the center pair. We contacted LGB and they shipped us a new headlight structure under warranty.
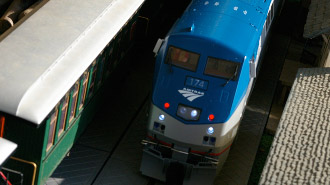
After a day or so with our LGB Amtrak Genesis Phase V, model number 22490, disaster. One of its super-bright LED headlights had failed. While we were installing a DCC decoder, we took a closer look at the headlight structure to see if it was simply a case of a loose cable. Unfortunately, that wasn't the case. So, we sent an email to LGB and explained the situation. In about a month, a new headlight circuit board was on our doorstep.
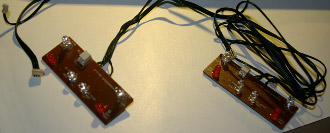
First up, removing the old, defective circuit board. The engine came apart as easily as it did the first time, with a total of twenty screws to remove in order to separate the shell from the body. There are two horizontal strips of plastic, one on each side of the locomotive, that are screwed into the cab at one end and come in contact with the headlight circuit board at the other. Other than this, the circuit board is not held in place by anything but friction, so it only took some very careful and gentle elbow grease to dislodge it. The three cables to and from the circuit board are attached via small white connectors. While they look quite fragile, all it took again was some gentle elbow grease.
From here, installing the new circuit board was a snap. We plugged in the three cables, making sure the right cables went to the right connector, of course. Next, we reinserted the board to its proper position. The bulbs simply slide into their holes, with the center pair having a separate piece of plastic that holds them in place. Nothing else secures the circuit board other than the two strips of plastic that seem to prevent the board from moving towards the back of the locomotive. With those in place, we reassembled the locomotive. The headlight's been working perfectly since.
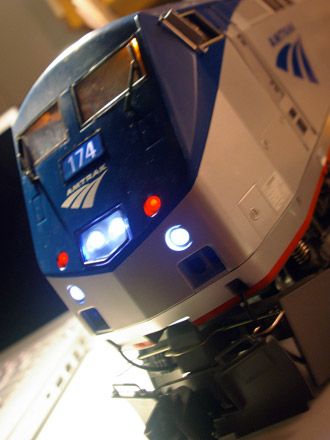
One thing we did not find during out investigation of the headlights was a way to control the two red lights. Prototypically, these are only on when the locomotive is operating in reverse while the four white lights are only on when the locomotive is moving forward. The model is not prototypical in this respect. While, correctly, only the red lights are on when traveling in reverse, both the red and the white lights are on when moving forward. It's a unfortunate and quite noticeable hiccup on this otherwise impressive locomotive. It also would've been nice if the ditch lights, the two lower white lights, operated prototypically and alternately blinked at a low speed. But that would've been a nice bonus rather than the error of the front red lights. On the rear of the engine, however, everything is as it prototypically should be. The two red lights are lit when moving forward and the two white lights are lit when moving backward.
 B&O Searchlight Car
  Crane Operations